
How to clean dog ears without pain comes down to two things: gentle technique and using the right ear cleaner for dogs, not whatever happens to be under the sink.
If your dog pulls away, cries, or you see redness and gunk, it’s easy to assume you’re “doing it wrong.” Sometimes you are, but sometimes the ear is already irritated or infected, and home cleaning just stings. Knowing the difference saves both of you a lot of stress.
This guide walks you through what’s normal, what’s not, and a calm, step-by-step routine you can repeat. I’ll also share common mistakes people make, plus when it’s smarter to stop and call your vet.
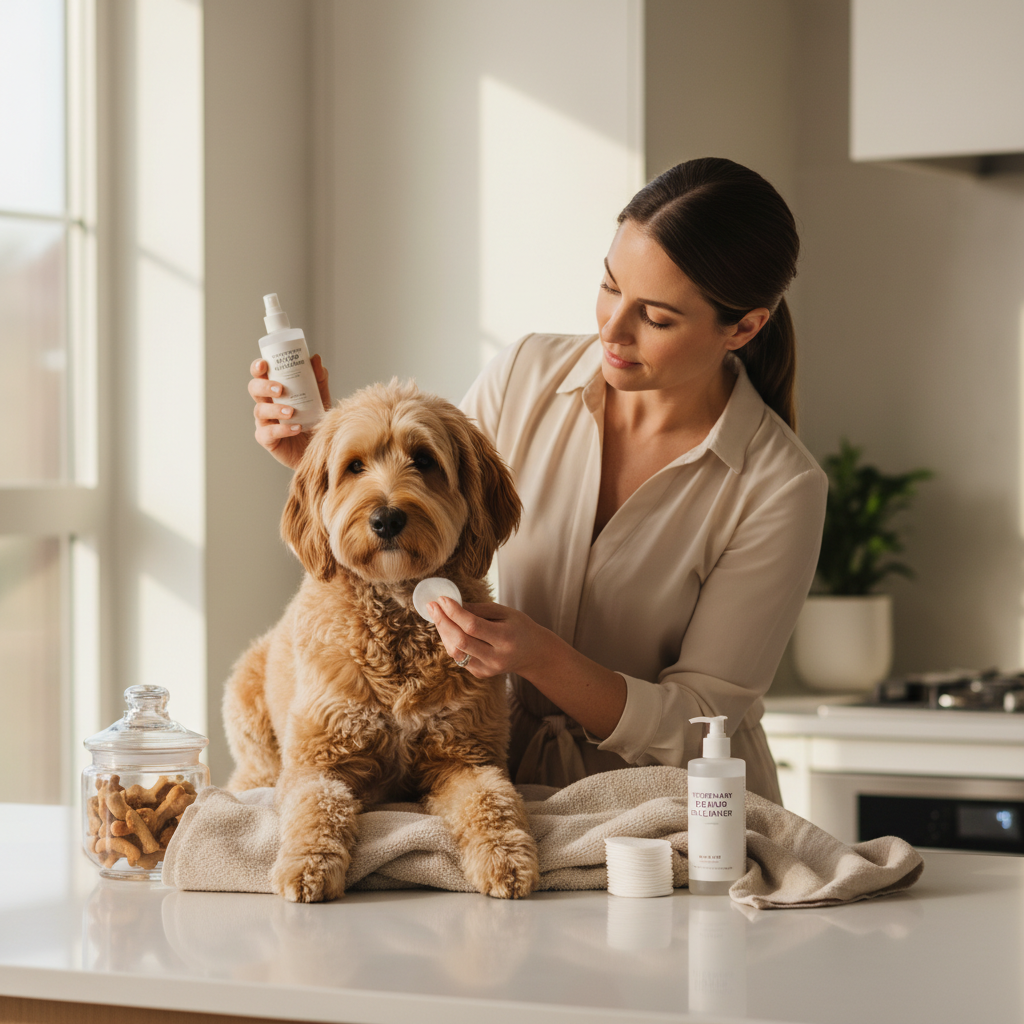
Why ear cleaning hurts (and what it usually means)
Ear cleaning should feel mildly weird to your dog, not painful. When it hurts, one of these situations is often in play.
- The ear is inflamed: allergies, yeast overgrowth, bacteria, or trapped moisture can make the canal sensitive.
- There’s an infection: cleaning solution can sting on raw tissue, and rubbing can worsen it.
- You’re going too deep: cotton swabs can push debris inward and scrape delicate skin.
- Wrong product: hydrogen peroxide, alcohol, vinegar mixes, or scented wipes may irritate, especially in already sore ears.
- Ear mites or foreign material: more common in some settings, and often needs veterinary diagnosis.
According to the American Veterinary Medical Association (AVMA), ear problems are a common reason dogs see veterinarians, and persistent symptoms should be evaluated rather than repeatedly treated at home.
Quick self-check: is it safe to clean today?
Before you start, you’re really asking one question: “Am I doing routine hygiene, or am I poking a medical problem?” This checklist helps you decide.
Usually OK for gentle at-home cleaning
- Light waxy buildup, mild odor that comes and goes
- Your dog tolerates ear touch and head handling
- No swelling, bleeding, or strong foul smell
- No frequent head shaking after you stop
Pause and consider a vet visit first
- Yelping, sudden pain, or snapping when you touch the ear
- Thick discharge (yellow/green), blood, or coffee-ground debris
- Strong “rotten” smell that returns quickly after cleaning
- Head tilt, loss of balance, or eye flicking
- Swollen ear flap, heat, or the canal looks very red
According to the American Kennel Club (AKC), using cotton swabs inside the ear canal is not recommended because it can pack debris deeper and potentially injure the ear.
Supplies that make cleaning painless (or at least tolerable)
You don’t need a whole grooming drawer, but you do need the right basics. If you’ve been struggling, the fix is often here.
- Veterinarian-recommended ear cleaner: choose one made for dogs; if your dog has recurring issues, ask your vet what formula fits (drying vs. wax-dissolving vs. gentle maintenance).
- Cotton rounds or gauze squares: soft, wide surface, less pokey than cotton balls.
- Towel: dogs shake after cleaner goes in, so protect your shirt and walls.
- Treats: not a bribe, a training tool to build tolerance.
- Optional: nitrile gloves if the smell or debris grosses you out (totally fair).
Avoid: cotton swabs into the canal, harsh antiseptics, essential oils, and “DIY” mixes unless a veterinarian specifically told you to use them for your dog’s condition.
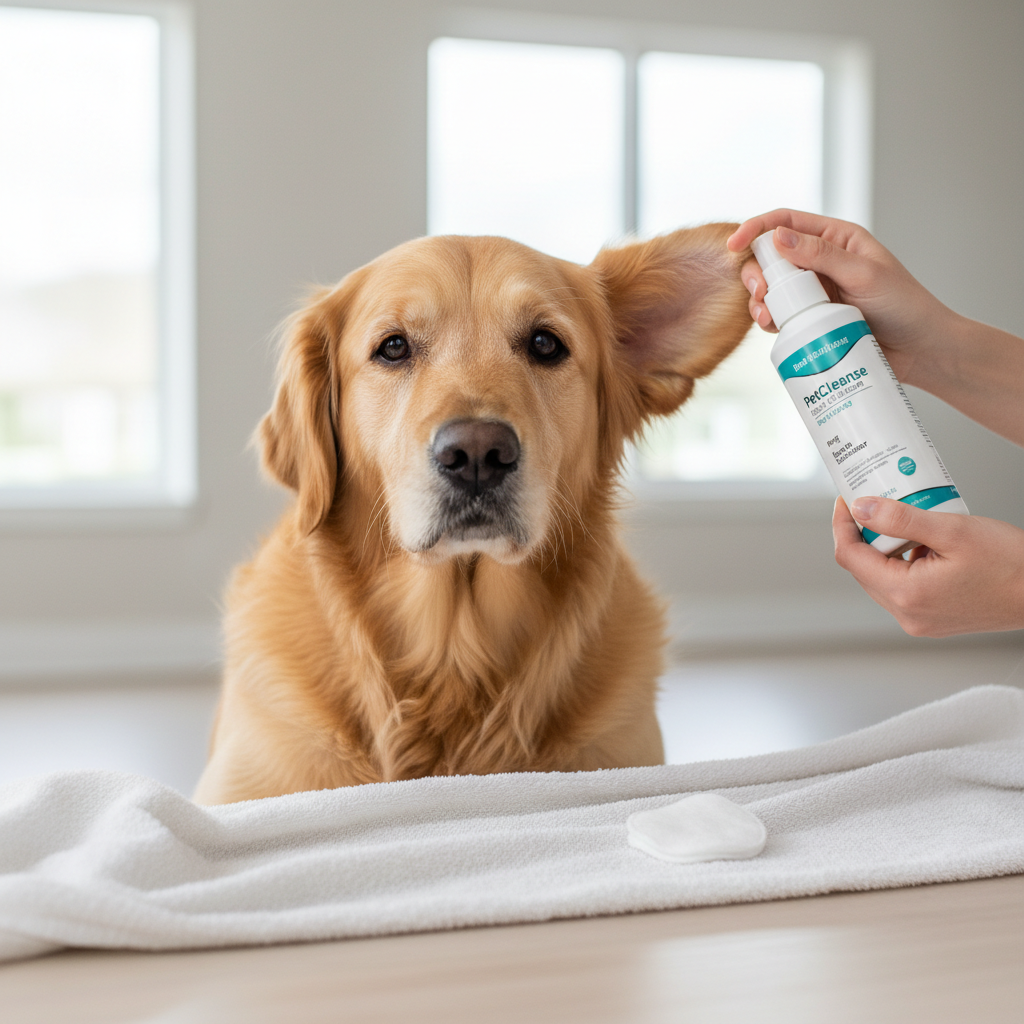
Step-by-step: how to clean dog ears gently
If you want the “no drama” version, keep it slow and boring. Fast hands make nervous dogs, and nervous dogs clamp down or bolt.
1) Set up for a 2-minute job
- Pick a spot that’s easy to wipe (bathroom, kitchen, or on a towel).
- Have everything within arm’s reach so you’re not chasing supplies mid-clean.
- Do one ear at a time, then reward.
2) Look and sniff before you touch the cleaner
Lift the ear flap and check for obvious redness, swelling, or wet discharge. A little wax is normal; “angry red and slimy” is a different story.
3) Add cleaner correctly (no deep insertion)
- Hold the ear flap up.
- Place the tip near the opening, without pushing it into the canal.
- Squeeze the amount listed on the label; more is not always better.
4) Massage the base of the ear
Massage the base for 20–30 seconds. You’ll often hear a “squish” sound, which usually means the cleaner is loosening debris. This is the part many people skip, then they scrub harder later.
5) Let your dog shake
Step back and let the head shake happen. This actually helps bring loosened material outward.
6) Wipe what comes out, not what’s deep
- Use cotton rounds or gauze to wipe the visible inner flap and entrance area.
- Stop when the wipe comes away mostly clean.
- If you feel tempted to “dig,” pause. That urge usually causes pain and irritation.
7) Reward and end it
One ear, treat. Second ear, treat. Then stop. A short positive routine beats a long battle, even if the ear isn’t perfect on day one.
How often should you clean dog ears? Use a simple rule
There isn’t one schedule for every dog. Some dogs never need routine cleaning; others, especially swimmers or dogs with floppy ears, may need it more often.
| Dog situation | Common approach | What to watch |
|---|---|---|
| Healthy ears, no odor | Clean only when visibly dirty | New smell, redness, frequent scratching |
| Floppy ears or lots of hair | Check weekly, clean as needed | Moisture trapped after baths |
| Swims often or frequent baths | Dry/check after water exposure | Head shaking within 24–48 hours |
| History of ear infections | Follow vet plan, avoid over-cleaning | Recurring odor or discharge |
A practical rule: if you’re cleaning so often that the ear looks irritated, you may be creating a cycle. That’s a good moment to ask a veterinarian about underlying allergies, yeast, or anatomy issues.
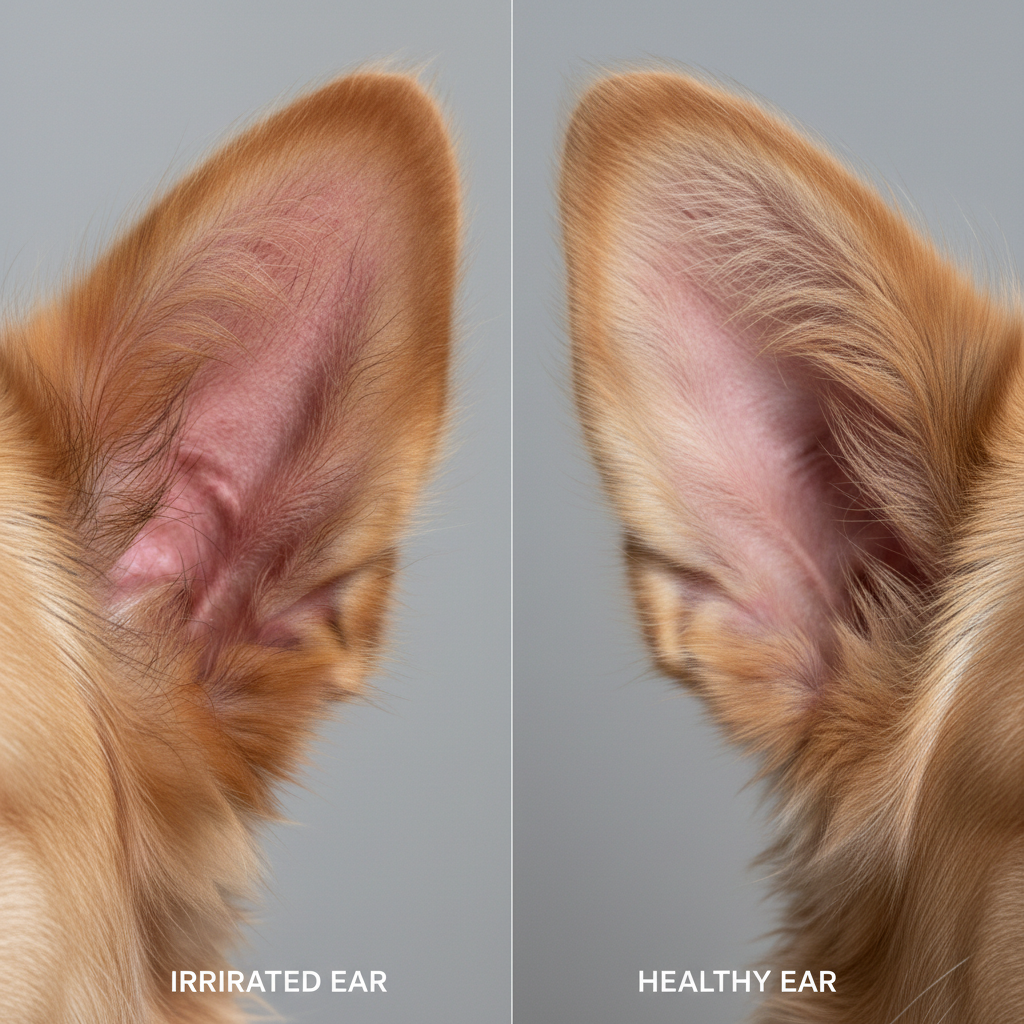
Common mistakes that cause pain (and how to fix them fast)
Most painful cleanings come from a handful of habits that feel logical in the moment.
- Scrubbing like you’re cleaning a stain: ear tissue is sensitive, so use wiping pressure, not friction.
- Using swabs “to get the last bit”: you may push wax deeper; stick to the areas your finger can safely reach with gauze.
- Cleaning too frequently: constant moisture and disturbance can irritate skin and shift the ear’s natural balance.
- Using multi-purpose household liquids: even if it seems to work once, it can backfire on inflamed skin.
- Ignoring the real cause: if allergies drive the problem, cleaning alone becomes endless maintenance.
If you’re unsure which ear product to use, bring the bottle you have to your vet and ask directly. It’s a small thing that prevents weeks of trial-and-error.
When to stop home care and get professional help
Home cleaning is for maintenance, not for treating a suspected infection. If any of these show up, it’s usually time to book an appointment.
- Pain that doesn’t improve with gentler handling
- Persistent odor or discharge returning within a day or two
- One ear only keeps flaring up, especially with head tilt
- Swelling of the ear flap or a puffy “balloon” look
- Neurologic signs like balance issues, which can indicate deeper ear involvement
According to the American Animal Hospital Association (AAHA), diagnosing ear disease often requires looking down the ear canal and sometimes testing debris, because yeast, bacteria, mites, and inflammation can look similar at home.
Key takeaways you can follow next time
- How to clean dog ears without pain starts with using a dog-specific ear cleaner and a light touch.
- Massage, let the shake happen, then wipe only what you can see.
- If there’s yelping, swelling, blood, or thick discharge, cleaning may not be the right move that day.
- Recurring ear issues often point to allergies, moisture, or anatomy, not “dirty ears.”
If you want an easy next step, check your dog’s ears weekly in good lighting, then clean only when there’s visible wax or smell. And if the same ear keeps acting up, schedule a vet check instead of escalating the cleaning routine.
FAQ
How do I know if I’m cleaning too deep?
If you can’t see where you’re wiping, you’re probably too deep. Stick to the visible parts of the inner flap and the entrance of the canal, and avoid inserting anything narrow.
Can I use hydrogen peroxide or rubbing alcohol to clean my dog’s ears?
Many vets discourage these for routine care because they can irritate tissue, especially if the ear is already inflamed. A dog-formulated ear cleaner is usually the safer choice.
My dog hates ear cleaning—how can I make it easier?
Keep sessions short, pair handling with treats, and do “practice touches” on non-cleaning days. If your dog suddenly starts resisting more than usual, consider pain as a cause rather than stubbornness.
How often should I clean dog ears if my dog swims a lot?
Checking after swimming is smart, and some dogs benefit from a vet-approved drying routine. If you notice repeated flare-ups after water, ask your veterinarian about prevention tailored to your dog.
What does a yeast ear infection smell like in dogs?
People often describe it as musty or “corn chip” odor, but smell alone isn’t a diagnosis. Yeast and bacteria can overlap, so persistent odor plus redness or discharge is a good reason for an exam.
Is brown wax normal in dog ears?
Light to medium brown wax can be normal, especially in some breeds. Dark, thick, coffee-ground debris or wax paired with itch and redness is more concerning and may need veterinary testing.
What if my dog yelps when I put ear cleaner in?
Stop and don’t force it. Stinging can happen if skin is raw or infected, and continuing may worsen irritation. It’s often safer to call your vet and describe what you saw.
If you’re trying to figure out how to clean dog ears for a dog that’s sensitive, anxious, or prone to repeat infections, it may help to ask your vet or groomer for a quick demo and product recommendation, that small bit of guidance often makes the at-home routine calmer and more consistent.